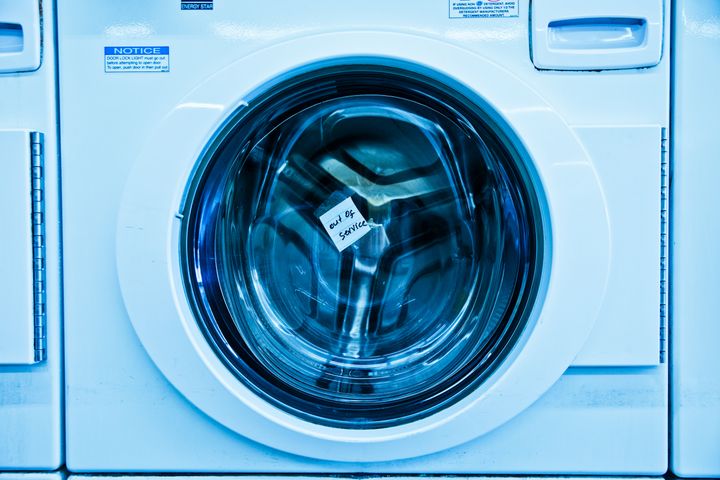
The appearance of the PE error code on your LG washing machine display is a direct communication from the appliance's main control board indicating a problem with the water level sensing system. Unlike minor glitches that can be cleared with a simple power cycle, this specific error code points toward a failure in the communication between the pressure sensor and the control unit. Understanding the frequency-based nature of this component is essential for accurate troubleshooting and avoiding unnecessary part replacements.
This technical guide is designed to navigate you through the complexities of the LG water level pressure switch. By examining the underlying electrical signals and the physical components involved, you will be able to determine whether the issue lies within the wiring harness, the sensor itself, or the main printed circuit board. Following these steps will provide a methodical approach to restoring your laundry appliance to full functionality.
Understanding the PE Error Code Logic
How the Water Level Sensor Operates
Modern LG washing machines utilize an analog pressure sensor rather than a simple mechanical switch. This device, often referred to as a pressure transducer or frequency sensor, works by generating a variable frequency signal that fluctuates based on the air pressure inside the drum. As water fills the tub, the air trapped in the pressure tube is compressed, and this pressure change shifts the frequency output of the sensor. The main control board monitors this frequency to determine the exact water level.
When the control board detects an frequency value that is outside of the expected operational range, it triggers the PE error code. This is a safety protocol designed to prevent the machine from overfilling or attempting to wash with an incorrect water level, which could lead to flooding or motor strain. The sensor is a delicate electronic component that is susceptible to moisture ingress, vibration damage, and electrical surges.
Common Causes for Signal Mismatch
Several factors can lead to an invalid frequency reading. The most common cause is a blockage or leak in the small plastic pressure tube that connects the tub to the sensor. If this tube is pinched, cracked, or clogged with debris, the sensor cannot accurately measure the pressure, leading to an erratic signal. Additionally, oxidation on the connector pins can introduce resistance, which alters the frequency sent to the control board.
Internal component failure is also a frequent culprit. If the internal diaphragm of the pressure switch loses its elasticity or the electronic circuit on the sensor board becomes corrupted, it will send a constant or invalid frequency signal regardless of the actual water level. In rarer cases, the issue may stem from electromagnetic interference or a failure in the main control board's signal processing circuit, which requires a more advanced diagnostic approach.
Preparing for Diagnostic Procedures
Safety Precautions and Tool Requirements
Before attempting any internal inspection, you must disconnect the washing machine from the power supply. Always pull the plug from the wall outlet to ensure there is no residual current. Furthermore, turn off the water supply valves to prevent any accidental leakage while working on the internal plumbing of the machine. Working with appliances involves inherent risks, and failing to de-energize the unit can lead to electric shock.
To conduct a thorough test, you will need a few essential tools: a digital multimeter capable of measuring frequency (Hz), a screwdriver set for removing the top and rear panels, and a flashlight. Having a pair of needle-nose pliers is also recommended for accessing tight spots around the pressure switch connection. Ensure your work area is dry and well-lit to prevent accidents and to clearly see the wiring color codes.
Accessing the Pressure Switch
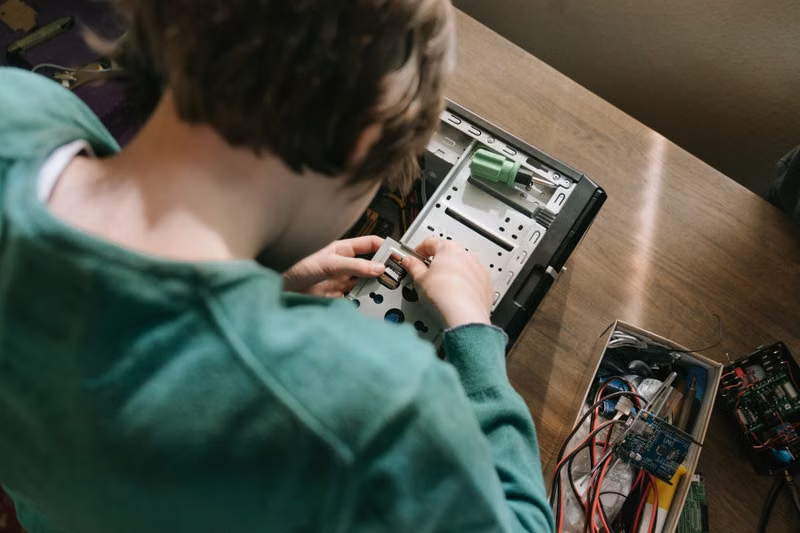
The pressure switch is typically located in the upper right corner of the washing machine, just behind the top control panel or the top lid. You will need to remove the screws securing the top cover of the washer. Once the cover is removed, you will see a small, round or rectangular component connected to a thin rubber tube. This is the water level pressure sensor.
Carefully inspect the rubber tube for any signs of wear. Disconnect the tube from the sensor and blow through it gently to ensure that there are no blockages. If you hear air bubbling in the tub, the path is clear. If you meet resistance, there may be a clog at the tub-side connection, which would require further disassembly to clear. This simple check often resolves the PE error without needing to replace any electrical components.
Performing the Frequency Test
Interpreting Sensor Output
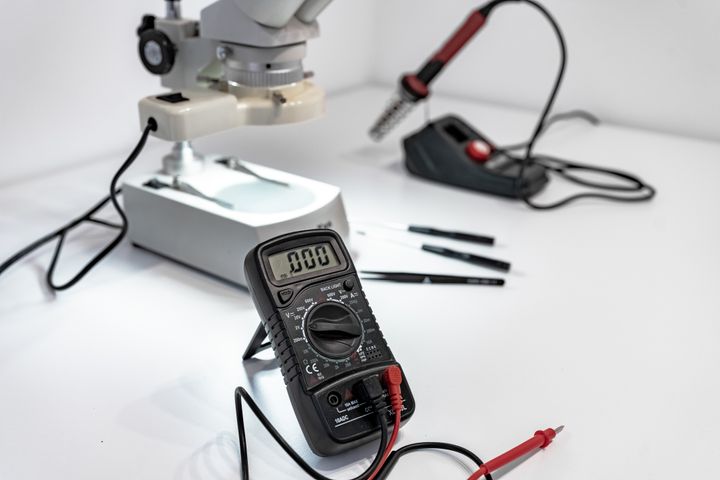
To test the frequency of the sensor, you must set your multimeter to the Hz (Hertz) setting. With the machine powered on and the sensor connected, you can probe the signal and ground pins. A functional sensor typically outputs a specific frequency range when empty and a different range when pressurized. If your multimeter shows a constant 0 Hz or a value that does not change as you manually apply light air pressure to the sensor, the component is likely defective.
It is important to note that LG sensors are sensitive. Do not blow high-pressure compressed air into the sensor, as this can destroy the delicate internal diaphragm. Use only gentle puffs of air. If the sensor shows a stable frequency reading that changes as you vary the pressure, the sensor is likely functional, and the issue might reside in the wiring harness or the control board.
Wiring and Connector Inspection
If the sensor appears to be functioning, examine the wire harness that connects the sensor to the main board. Look for signs of frayed wires, burnt insulation, or loose pins in the connector housing. Vibration during high-speed spin cycles can sometimes cause wires to rub against the metal chassis, leading to short circuits or broken connections.
Use your multimeter to perform a continuity test on each wire within the harness. Place one probe at the sensor connector and the other at the corresponding pin on the main control board. If any wire shows infinite resistance (no continuity), it must be repaired or replaced. A poor connection often mimics the symptoms of a failed sensor, making the PE error appear intermittently.
Comparative Analysis of Error Symptoms
| Symptom | Likely Cause | Recommended Action |
|---|---|---|
| PE error appears instantly | Sensor short or open circuit | Replace pressure sensor |
| PE error appears during fill | Blocked pressure tube | Clear tube or replace |
| PE error appears during spin | Loose wiring harness | Secure and repair wires |
| PE error persists after part replacement | Control board failure | Inspect or replace PCB |
Troubleshooting the Control Board
PCB Signal Processing Issues
If the sensor and wiring are confirmed to be in good working order, the main control board may be unable to interpret the frequency signals. This can be caused by a faulty capacitor in the signal processing circuit or a corrupted firmware state. In some cases, a hard reset—leaving the machine unplugged for 30 minutes—can clear temporary glitches in the control logic.
Inspect the control board for any visible signs of damage, such as scorched components or swollen capacitors. While board repair is possible for those with advanced soldering skills, most technicians recommend replacing the entire main control board if the PE error persists despite having verified all external components. Ensure that the replacement board is compatible with your specific model number.
Software and Firmware Considerations
Occasionally, the PE error code can be a result of a software bug within the washing machine's firmware. Some LG models allow for a service mode diagnostic where you can view real-time frequency data from the sensor. If you have access to the service manual for your specific model, utilize the service menu to confirm that the board is receiving the signal, even if it is not triggering the correct washing cycle.
Conclusion
Resolving the LG PE error code requires a systematic approach that starts with the simplest mechanical checks, such as the pressure tube, and moves toward more complex electrical diagnostics involving frequency measurement and wiring continuity. By isolating the sensor output, ensuring the integrity of the wiring harness, and finally evaluating the main control board, you can effectively diagnose the root cause of the error. Remember that while the pressure switch is a common failure point, a methodical test process will save you from the unnecessary expense of replacing functional parts, ensuring a long-lasting repair for your laundry appliance.
Frequently Asked Questions
Can I bypass the pressure switch to fix the PE error?
No, you cannot bypass the pressure switch. The control board requires a specific frequency signal to determine the water level; without this signal, the machine will not proceed with the wash cycle to prevent overflow or damage.
How much does it cost to replace the pressure sensor?
The cost of an LG pressure sensor is generally quite affordable, usually ranging between 20 and 50 dollars depending on the specific model. Replacing it yourself is a straightforward task that does not require specialized technician tools.
Will a dirty filter cause the PE error?
While a dirty drain filter primarily causes drainage errors (like OE), it can indirectly impact pressure sensing if the tub cannot drain properly, leading to residual water and incorrect pressure readings. Always ensure your drain system is clear.
Is the PE error always a hardware failure?
Not always. Sometimes the error is caused by a loose connection or a pinched tube. Only after verifying the physical connections and wiring should you consider the component or the control board to be the source of the failure.
References
- LG Electronics Official Service Documentation: Troubleshooting Guide for Top and Front Load Washers.
- Appliance Repair Technical Handbook: Analog Pressure Sensor Frequency Analysis.
- National Electrical Code (NEC) guidelines for appliance safety and wiring maintenance.